How To Transplant Seedlings
After starting your seeds indoors, in no time at all your seedlings will be ready to graduate to larger containers and eventually move outside and into the garden. Moving seedlings to a larger pot gives them more space for their roots to grow and access nutrients that contribute to healthy growth and resilience. But how do you know when it's time to prepare your plants for their next phase? Read on for our tips and tricks to ensure healthy seedlings and an easy transition from container to garden.
How To Know When Your Seedlings Are Ready for Transplant

True Leaves
When your plant has produced multiple sets of true leaves, it may be time to move up to a larger pot. The first leaves produced by a seedling are called cotyledons, which are the first nutrient source for your plant and supply energy while it develops. Cotyledons may turn yellow and wither over time as their energy stores are used up. The second set of leaves are known as true leaves, which look like a smaller version of the plant's mature leaves. True leaves are able to photosynthesize and supply nutrients to the plant as it continues to grow and mature. When your seedling has developed at least two sets of true leaves, it's time for a larger container.
Root Growth
The roots of a plant are just as important to its growth and production as its leaves, and healthy root growth is essential for seedlings. If plants become root bound, where their roots begin to circle around the inside of the container, this means they're overdue for up potting. Roots growing out through the drainage holes of their container are another sign it's time to move up. Plants that are root bound may become top-heavy or display wilted leaves even after watering.

Stunted Growth
Small containers mean small quantities of soil, which quickly become depleted of nutrients as your young seedlings grow and develop new stems and leaves. When the nutrient content of the soil has been used up, hungry seedlings may display yellowing leaves, thin stems, or stunted growth. While you can feed your seedlings with a diluted fertilizer, we recommend moving them into a larger pot to refresh the soil, allow for more root growth, and reduce the need for excess watering and feeding. Keep in mind that many potting mixes contain fertilizer, in which case you won't need to add fertilizer for a while after potting up.
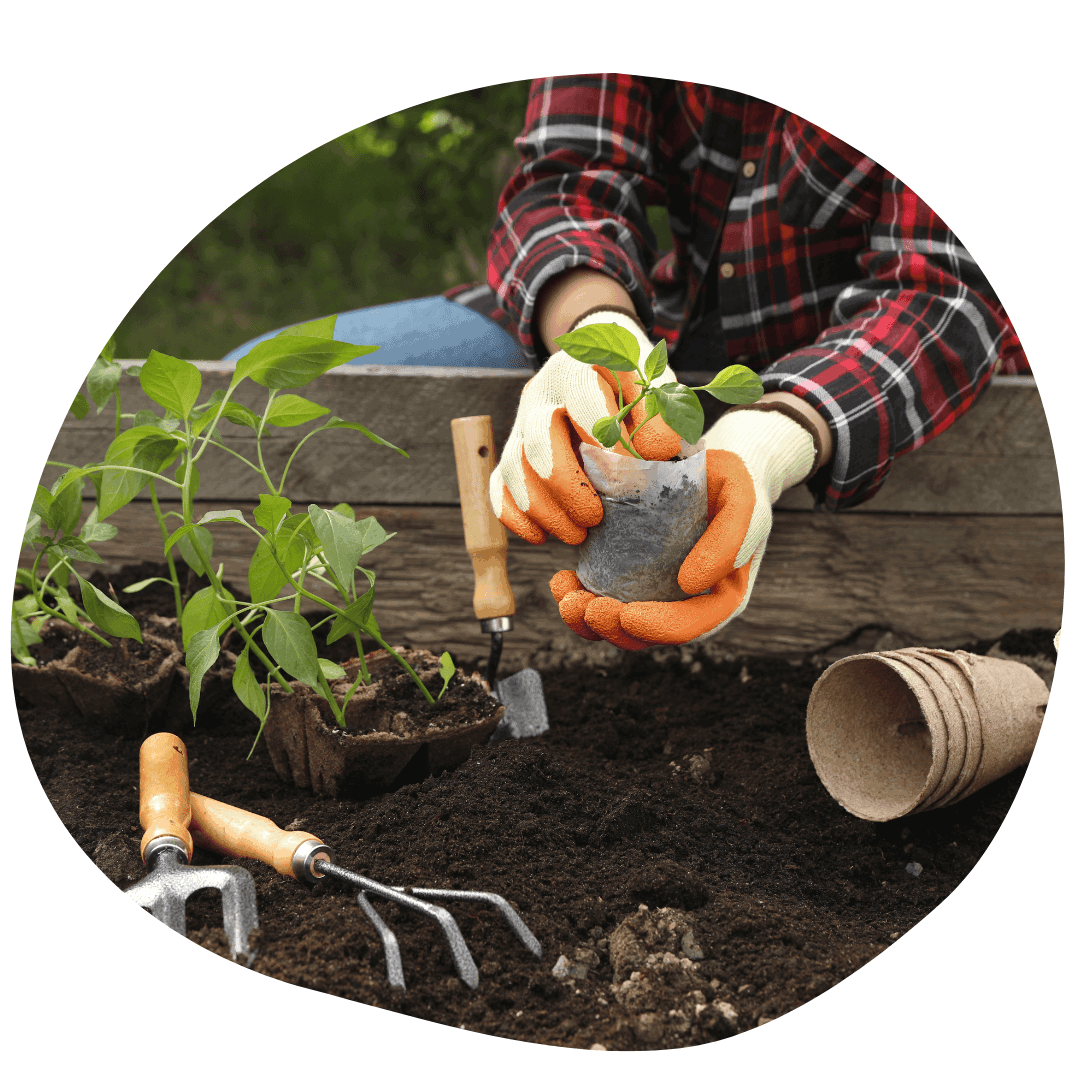
How To Transplant Seedlings
Once you've established your plants are reading to make a move, it's time to transplant! To get started you'll need fresh soil (we recommend a potting mix or vegetable mix) and a larger container. Depending on the current size of your seedling and its home, you may want to move up to a 4" or 6" pot. If your seedlings are sensitive to transplanting, consider using a biodegradable pot that can be planted directly into the garden. When choosing the next pot size, it's good to start small and work up. Oversized pots will result in a disproportionate ratio of roots to foliage, producing plants that have stunted growth above the ground. Plastic pots are reusable when sanitized, while peat pots will decompose and can be planted directly into the ground. If using a peat pot, be sure to gently tear off the bottom before transplanting so the roots can grow unimpeded.

Prepare your soil by adding water until it’s evenly mixed and moist, not wet. Excess water can cause root rot and promote the potential growth of undesirable fungi, disease, and pests.
Always be patient and gentle when transplanting. If your seedlings are planted in cells, gently push from the bottom of the cell to pop out the root ball. For seedlings in larger containers, give the container a squeeze to loosen the soil and make it easier to remove the plant. Pull your seedling out by gently holding the leaves and lifting. Avoid grabbing your seedlings by the stems, which are delicate and break easily. If your seedling is root bound, you may gently pull apart the roots before moving it into its new pot. Lightly press the soil around it and water well. Move your freshly transplanted seedlings to a location with indirect sunlight for a day or two. Some plants are susceptible to transplant shock, so monitor them closely in the days after transplanting for wilting or yellowing leaves. Allow for at least one week of recovery before resuming fertilization, or longer if your soil contains added nutrients. Some plants like basil, marigolds, and others can benefit from being pinched as seedlings to encourage bushier growth.
How To Harden Off Seedlings
Hardening off is the gradual process of slowly exposing plants grown indoors to outside conditions. As a general guideline, plants will be okay outdoors when the temperature is warm enough that you're comfortable standing outside in a t-shirt. Pick a mild day and place your trays outside for about an hour, then bring them back in for the rest of the day. Increase the amount of time they spend outside each day by around an hour per day, and after a few weeks they'll be ready to move outside permanently.

For the first week, keep seedlings out of direct sunlight and strong wind and don't move them outside if the weather is harsh. Even on a mild day, sun and a light breeze will be overwhelming to seedlings that have never been outside. Place them in a sheltered area until they slowly begin to get used to their new conditions. On days with heavy rain or wind, you can skip the routine without setting your seedlings back. If you're able, during bad weather you may place your seedlings outside under a cover such as a cold frame or solid cloche to protect against damage.
Don't be alarmed if your seedlings look a bit sad after their first few days outside! It's a big change after the controlled climate they've been accustomed to indoors, and it will take some time and patience to help them get used to their new environment. Don't rush the process - let your plants get accustomed to the sun, wind, rain, and all the other factors that contribute to garden life at their own pace.
Cold weather crops (eg. onions, cabbages, broccoli, lettuce, peas) can be planted outside much earlier than others. Heat-loving plants (eg. squash, tomatoes, peppers, eggplant and basil) should only be transplanted after the last frost. Generally, most annuals can be planted outside by the end of May (depending on the weather). Be aware of your hardiness zone and upcoming weather forecasts. If a surprise frost hits after you've transplanted, cover your beds with row cover (or sheets!) or a cloche. The first full moon in June is used as a marker for planting. Gardeners often believe that the risk of frost has passed after the first full moon in June.
How To Transplant Your Seedlings Outside
Before transplanting out, you can prepare your garden beds by amending your soil with some fresh topsoil and compost. It can be helpful to test your soil before amending to determine whether the pH and nutrient levels are appropriate for planting. Determine the placement of your plants in the garden based on their mature height and width, spacing to prevent competition for nutrients and overcrowding that may contribute to pest and fungal infestations. Reference your seed packets to determine the correct spacing for each variety. Be mindful of the location of trees near your garden beds, as they may block sunlight later in the season when fully leafed out.
After your seedlings have been fully hardened off and accustomed to being outside, it's finally time to move into the garden! Store-bought seedlings should already be hardened off and used to the elements, so transplants from your local garden centre can go straight into your beds. When you're ready to plant, prepare holes for your transplants that are wider and deeper than the pot the plant is currently in. Add bone meal and compost to the hole to promote root growth and early nutrient uptake. If using plastic pots, gently remove the plant from the pot by carefully pulling on the leaves while squishing the pot slightly with your other hand to loosen the soil. Peat or coir pots can be planted directly into the garden. It can take several seasons for peat pots to decompose, but tearing off excess fibre at the top and bottom of the pot can help speed up the process. Place your plant in the hole and fill in with surrounding soil while keeping the plant upright. Water well around the roots and top up with more soil if necessary. Keep an eye on the weather over the next week or so, including overnight temperatures, and cover your beds when the temperature dips.
Caring For Transplants In The Garden

It will take some time for your plants to become fully established in the ground, so treat them gently in the first weeks after transplant. Keep up with regular watering and fertilizing depending on the needs of each plant. Heavy feeders like tomatoes and peppers will appreciate frequent fertilization to continue producing fruit, while greens and legumes may only need infrequent feeding. Follow the instructions on your fertilizer container to determine the correct application rate, and be careful not to overfertilize young transplants as this can cause damage to the plant.
Monitor regularly for damage from pests and diseases and treat when necessary. A few aphids may not be a problem, but a few dozen might pose a problem for the health of your plant and require intervention. Many pests and diseases can be treated with organic methods like diatomaceous earth, but pesticides are available for most common garden insects. There are many beneficial insects that play a role in the health of your garden, so we recommend being careful in your application of pesticides to avoid negative effects on local pollinators and other friendly bugs.
Weed on a regular basis to ensure all nutrients in the soil are available for the growth of your garden plants, and to reduce areas that may harbour pests and diseases. Especially when plants are establishing, be gentle when weeding to avoid disturbing their roots.
| Return to Garden Guides |