How to Start Seeds
In our short-season Canadian climates, it's essential to get a head start on your garden by starting many seed varieties indoors in the late winter and early spring. In Nova Scotia, New Brunswick, PEI, and other similar hardiness zones, we begin to start vegetable seeds as early as February! While temperatures are still below zero outside, inside you can sow seeds for heat-loving plants like tomatoes and peppers, slow growers like onions and leeks, and numerous annual and perennial flowers. Starting inside can also give a longer harvest period to plants likely to bolt in hot temperatures like lettuce and spinach.

 Trays
Trays
Trays hold your seedlings! Trays are available in a standard 10" x 20" size in several formats, including
single thick,
double thick, and
quad thick plastic, and trays with and without holes. Trays with no holes retain water, so it's recommended to add a tray with holes to hold your soil, cells, or pots to make watering and drainage easy. Simply lift the inner tray to dump excess water from the outer, reducing the likelihood of problems like root rot and damping off.
Cell Sheets and Pots
Cell sheets or strips can be used to help divide seedlings. Choose a size according to the expected growth of your seedling and the frequency with which you're comfortable transplanting them up. Growers with hundreds of seedlings might prefer plug trays.
Plug trays have smaller individual cells, meaning more seedlings per tray - however, the smaller cell requires the plants to be transplanted sooner. Seedlings can also be started in small individual containers such as
peat or
plastic pots. Choose smaller pots whenever possible, or the seed will expend energy on excessive root development instead of plant development.
Clear Plastic Domes
Clear plastic domes are made to fit directly over top trays. These domes help to create the 'greenhouse effect' retaining heat and moisture that help to promote germination.
Water
It's important to avoid overwatering when starting seedlings, so a
spray bottle or watering can that produces a gentle shower is essential. Keeping the soil consistently moist is key for good germination. Look for watering cans with small holes in the rose for gentle watering to avoid displacing your seeds.
Light
Plants derive their energy from light, so light is necessary for plants to grow. A bright, south-facing window may suffice, but
supplemental lighting is recommended especially for seedlings with high light requirements. Seedlings will lean towards the light so be sure to rotate your seedlings if your light source is not directly overhead. A lack of light can result in spindly, leggy plants with weak stems and poor growth habits. Grow lights can be used to supplement or replace natural light and enhance growth. When starting seedlings, lights should be set up so they can be
raised and lowered. Start with your lights several inches from your trays and raise them as the plants grow. Grow lights are ideally placed 4 to 6 inches away from the seedlings, directly above the center of your tray.

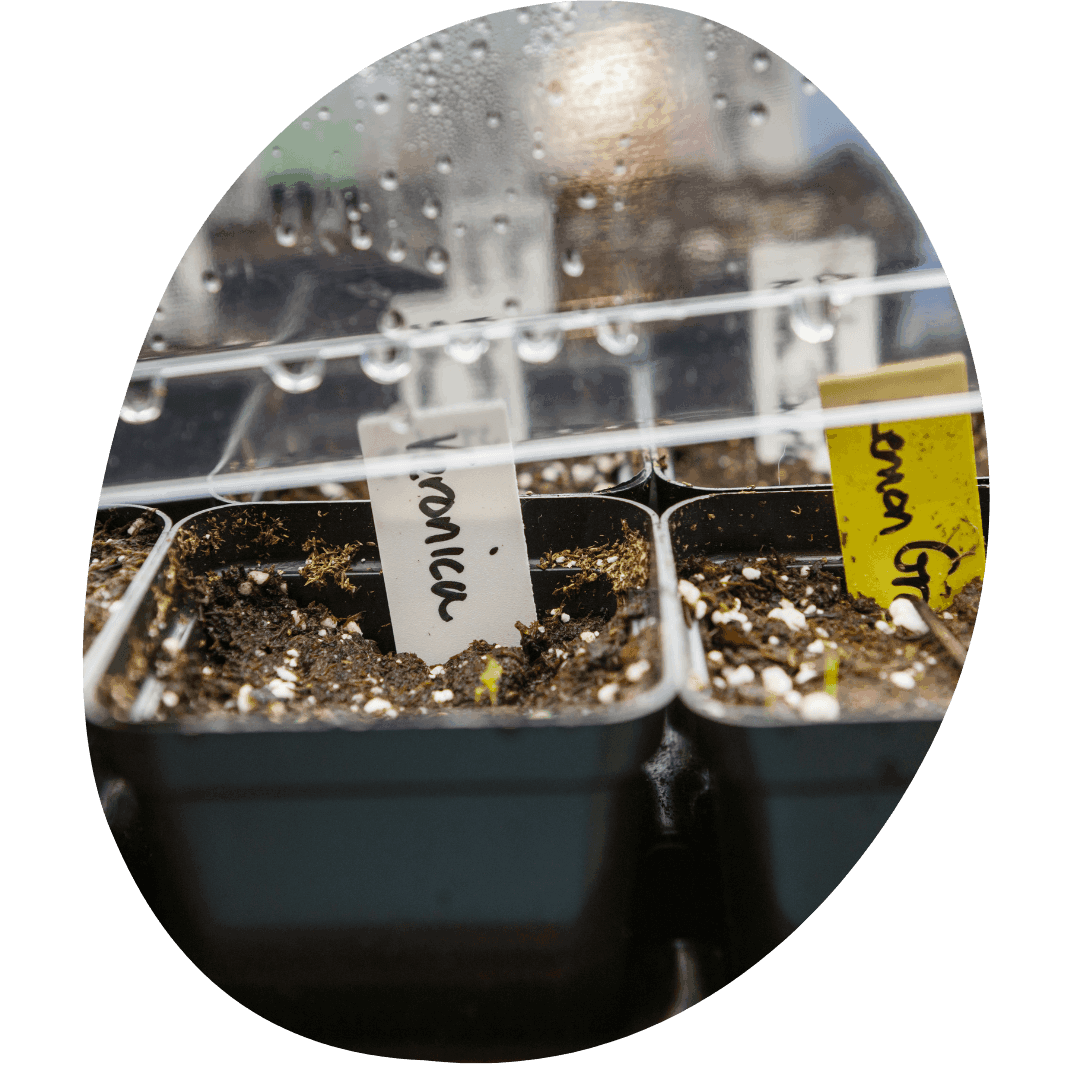
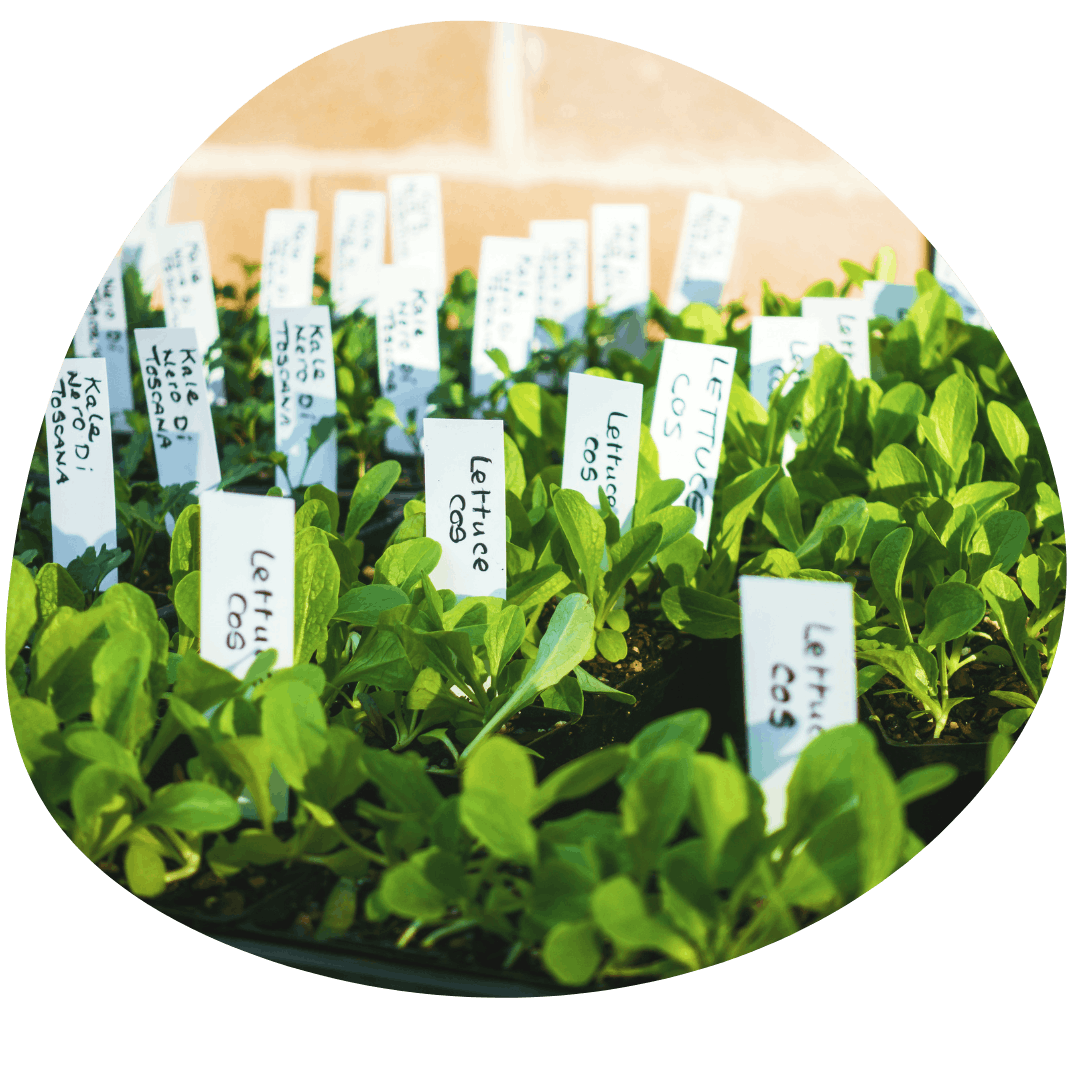
Labels
- to help to keep track of the seeds you’ve started as well as the date you sowed them. Available in
plastic and
wood.
Heat mats
- to improve germination and stimulate root growth.
Available in multiple sizes.
Hand Seeders
- to
help with sowing seeds, especially tiny varieties
Timers
- to automate grow lights and heat mats

Growing mediums used for seed starting should ideally be light and airy, with good drainage and little to no added nutrients. Most potting soils are primarily made up of sterile sphagnum peat moss, which is lightweight and can absorb 10-20 times its weight in water. Peat moss is naturally acidic, so lime is added to the mix to neutralize the medium.
Perlite made from volcanic ash is added to lighten the soil and improve aeration. Perlite looks like small white pebbles and does not absorb water.
Vermiculite is also added to most potting mixes. It looks similar to perlite but it absorbs and stores water for plants to use, and contains magnesium and potassium which are beneficial for root development. Pro Mix potting soils also include mycorrhizae.
Mycorrhizae is a beneficial fungus that helps create strong root systems to improve nutrient uptake and plant health.
The Importance of Soil Sterility and Drainage
Do not use unsterilized garden soil or organic matter for starting seeds indoors. Unsterilized mediums may contain fungi and/or other organisms like pest eggs or larvae, all of which can damage or kill tender seedlings.
Pots, trays, and cells may be reused from year to year but need to be sterilized between uses. To sterilize used potting containers, mix a solution of 1 part bleach to 4 parts water and soak after any lingering soil or plant material has been cleaned off.
When preparing the sterile potting soil, be sure it’s evenly mixed and moist, not wet. Seeds will not germinate without moisture and heat, but excess water can cause seeds to rot and can promote the potential growth of undesirable fungi, disease, and pests. Seedlings should be grown in cells or pots with drainage holes so that excess water can drain through into a catch tray.
When sterile practices are not observed and too much moisture is allowed to accumulate, mold may form and damping-off may occur. Damping-off is caused by a soil borne fungus called Pythium that causes seedlings to rot at the base and die off. Using sterile tools and equipment, watering carefully, and promoting good airflow can help to avoid this concern.
Cinnamon is a natural antifungal and is fine enough not to block light. It should be applied before any signs of fungus show. Seeds that do not like being covered deeply may be top dressed with a light layer of vermiculite. Vermiculite is sterile and will help wick away moisture and help plants resist damping-off.

Special Seed Treatments
Many seeds need to be prepared prior to planting to ensure they have good germination. Before starting your seeds be sure to read all packages and plan ahead in case a particular variety needs to be prepared a few days or weeks in advance of planting.
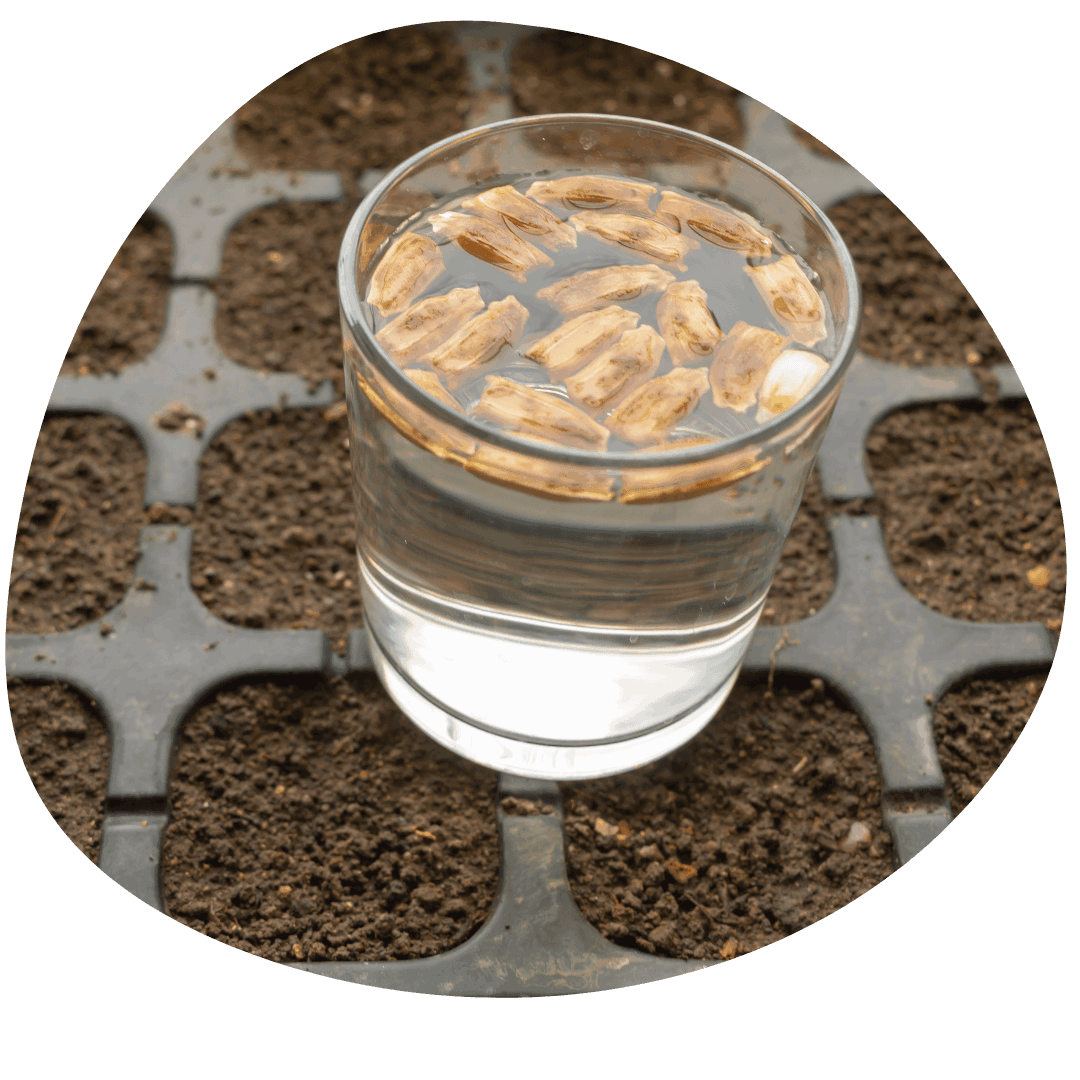
Soaking:
Soaking softens the seed coat, allowing the plant to break through. Most seeds requiring soaking should be placed in water for 12-24 hours. Sow seeds immediately after soaking. Larger hard shelled seeds have a hard time absorbing water, and may need to be soaked for longer.
Scarification:
Scratching, nicking, or sanding the exterior of the seed. Avoid scratching too deeply as this can harm the seed.
Stratification:
A moist-cold treatment. Mix seeds with a pre-moistened growing medium and place in the fridge. Be sure to never stratify seeds while they are still in the package.
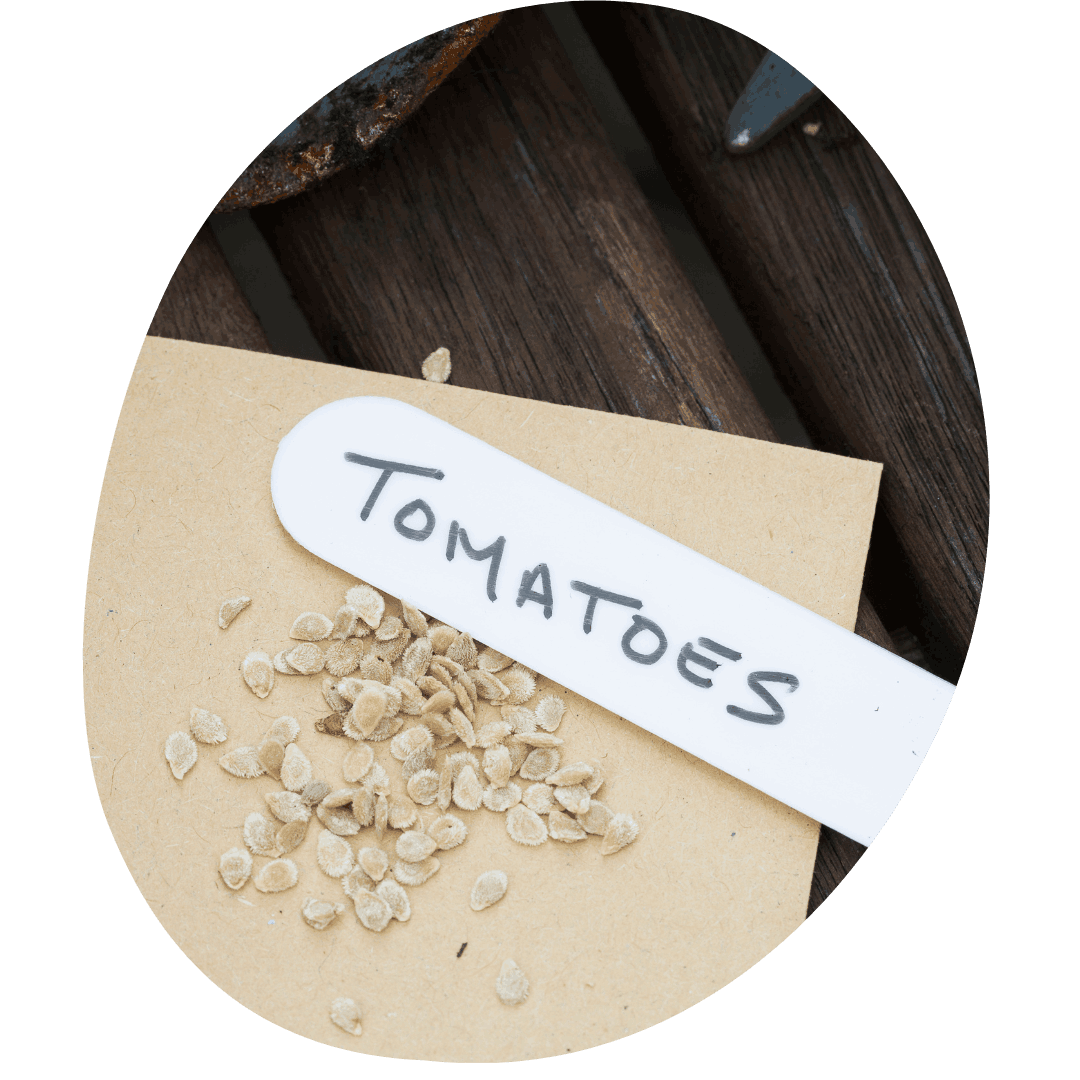
Heirloom Seeds
Heirloom seeds are varieties that have been cultivated for over 50 years, and many date back to 1951 or earlier. They are open pollinated, meaning they produce seeds that grow plants which are true to type and will have the same characteristics as the parent plants. Heirloom seeds are not genetically modified and often have been selectively grown and saved for generations to encourage adaptation to the local climate, diseases, and pests. Heirloom seeds and other open pollinated varieties can be saved and grown again year after year.
Hybrid Seeds
Hybrid seeds are created by crossing two varieties of the same plant. They are crossed to take advantage of the positive traits and attributes of the parent plants. Hybrids may be selectively bred to have greater disease resistance, higher productivity, more vibrant colours, and so on. Hybrids usually have F1 or Hybrid in their name. The seeds of hybrid plants may not be viable, and will not always produce plants that are true to type, making them unsuitable for seed saving.

Ideal Germination Conditions
Place your seed starting tray in an area where the temperature remains consistently between 21-24 Celsius.
Heat mats can be used to maintain temperature in cold rooms. Keep humidity consistent but avoid overwatering.
Sowing Seeds
Always reference your seed packets when determining when and how to plant your seeds. Seed packets will have important information like germination times, days to maturity, seed spacing, lighting needs, and more. It's also helpful to know your first and last frost dates and your plant hardiness zone, which will give you an idea of what seeds will be winter hardy in your area.
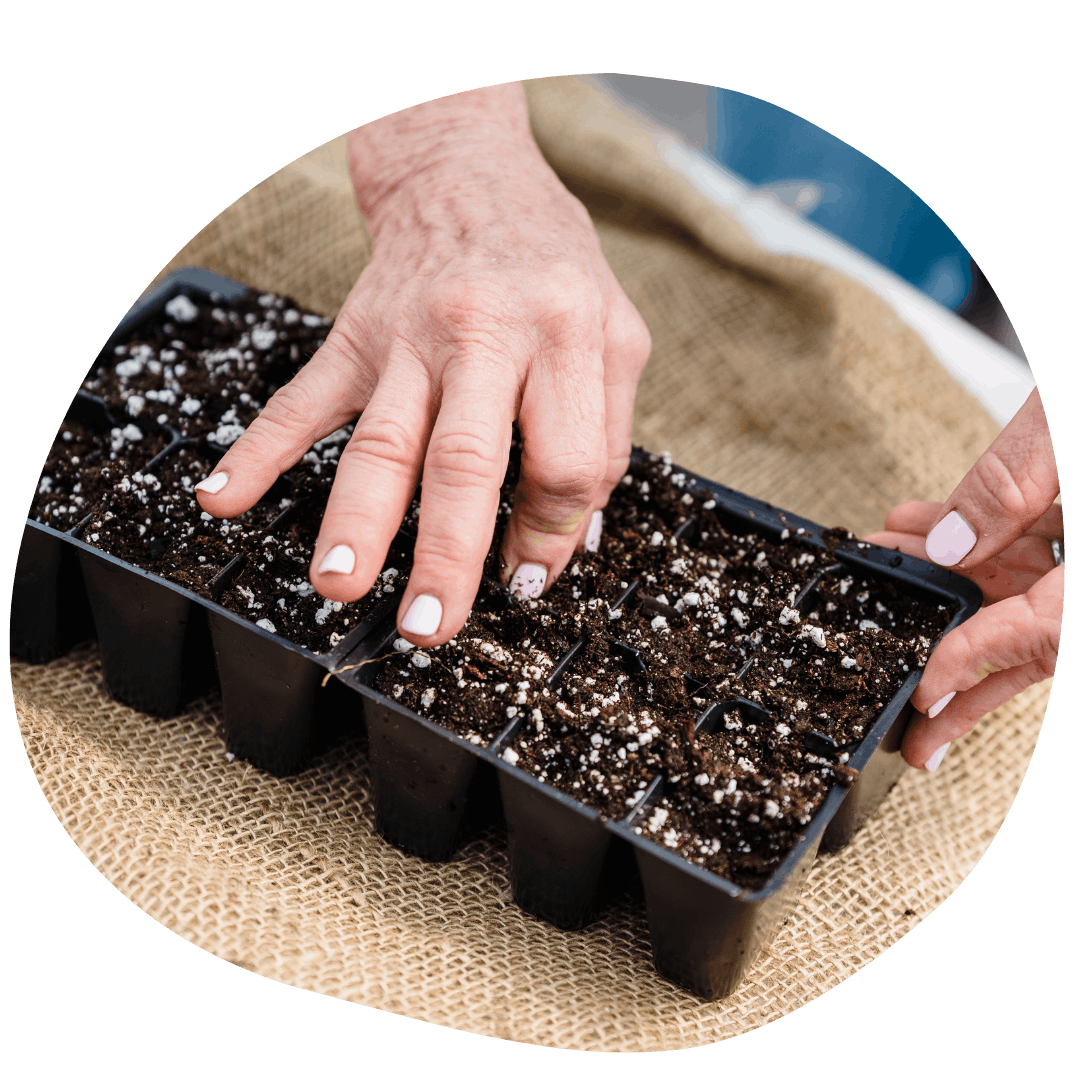
When you're ready to plant, start with pre-moistening your soil. Soil is perfectly saturated if a handful of soil retains its shape after being squeezed, with no excess water running out. Fill your cells or pots with your soil until they're slightly overflowing, then tap your tray down gently to ensure there are no air pockets. Brush off any excess soil.
The average germination rate of most seeds is around 85%, so many people like to plant two seeds per cell to ensure success. If both seeds germinate, remove the weaker of the two seedlings.
Place your seeds on the soil surface, then gently push down seeds to the desired depth (refer to seed packet). The planting depth of seeds is very important for proper germination. Typically, smaller seeds require shallow planting depths while larger seeds need to be planted deeper. Seeds that require shallow depth can be covered with a light layer of vermiculite or sand before watering.
After your seeds are planted, gently mist with a spray bottle or watering can to settle the soil. Place a clear plastic dome over the tray to keep the air humid and promote germination while reducing the frequency of watering. Trays can be set on a heat mat to increase the rate of germination and help with root development.

When your seeds have germinated and sprouted above the soil into tiny seedlings, they will have three main needs.
Warmth
Most seedlings love a warm environment and will thrive in temperatures around 21°C. However, bear in mind that in general seedlings require cooler temperatures than what were needed during germination. For example, if they were geminated at 26 degrees then the daytime temp should be 21 and the night time temperature should be 16. This ensures that the seedlings don't stretch or become weak. There are a few common exceptions to this rule – tomatoes, cucumbers and peppers like to grow in warmer environments
Light
It's crucial that seedlings get enough light immediately after sprouting. If the light source is insufficient, plants will become very stretched and spindly with little foliage. Supplemental lights should be placed be six inches away from the plant, and foliage should not be allowed to touch the light or it may burn. If using windows as a light source, be sure to rotate your pots/trays often to avoid plants leaning to one side.
Nutrients
Once seedlings have produced two sets of true leaves, they will benefit from a
fertilizer formulated with a high middle number to encourage root growth and development. Always follow the instructions on the label of your fertilizer container. Synthetic fertilizers with high nutrient values can be diluted to avoid burning young plants.

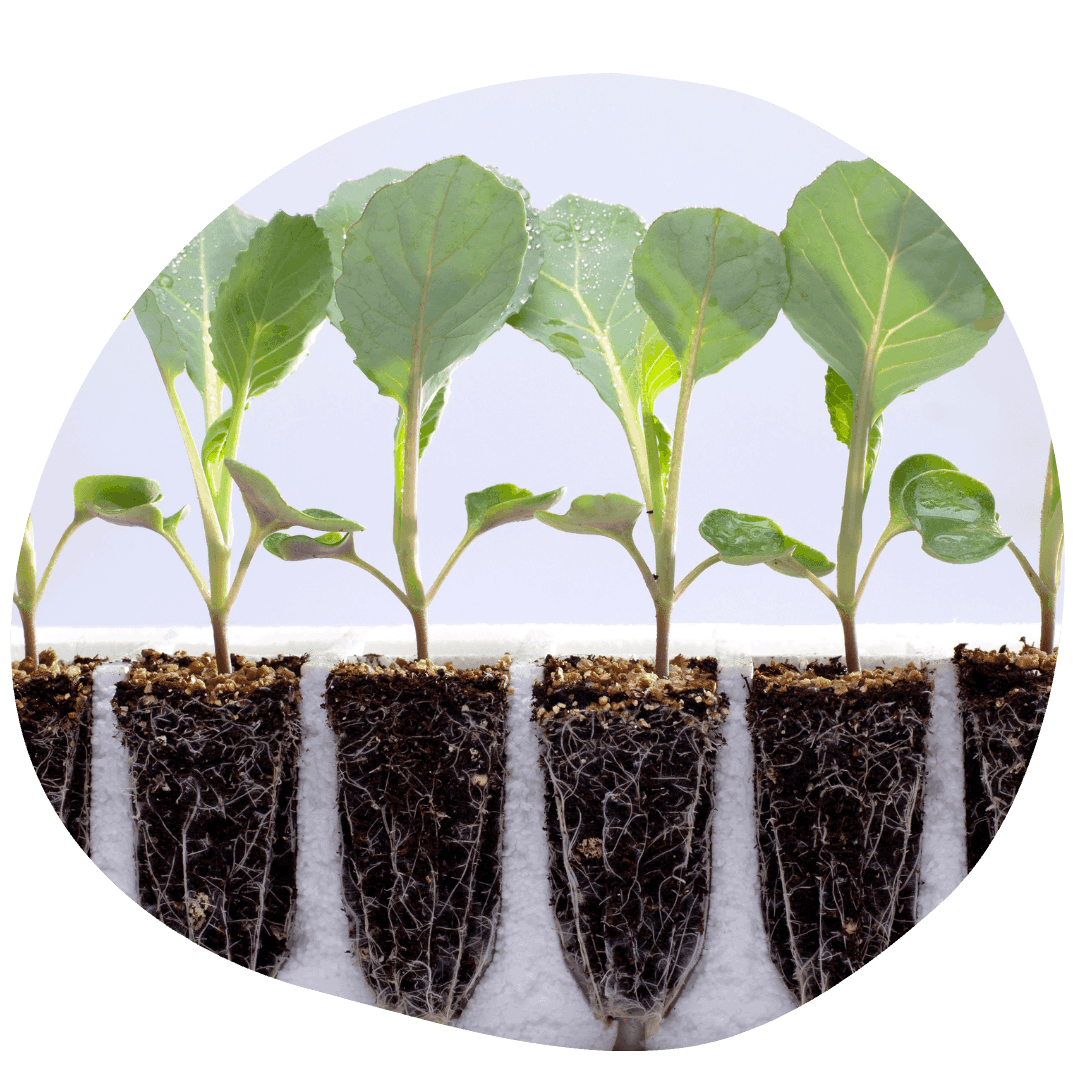
Transplanting From Cells to Pots
Once your seedlings have produced several true leaves and outgrown their cells with roots that fully fill the depth of the container, it's time to plant them into individual pots to grow further until it is time to transplant outside. When choosing the next pot size, it's good to start small and work up. Oversized pots will result in a disproportionate ratio of roots to foliage, producing plants that have stunted growth above the ground. Plastic pots are reusable when sanitized, while peat pots will decompose and can be planted directly into the ground. If using a peat pot, be sure to gently tear off the bottom before transplanting so the roots can grow unimpeded. 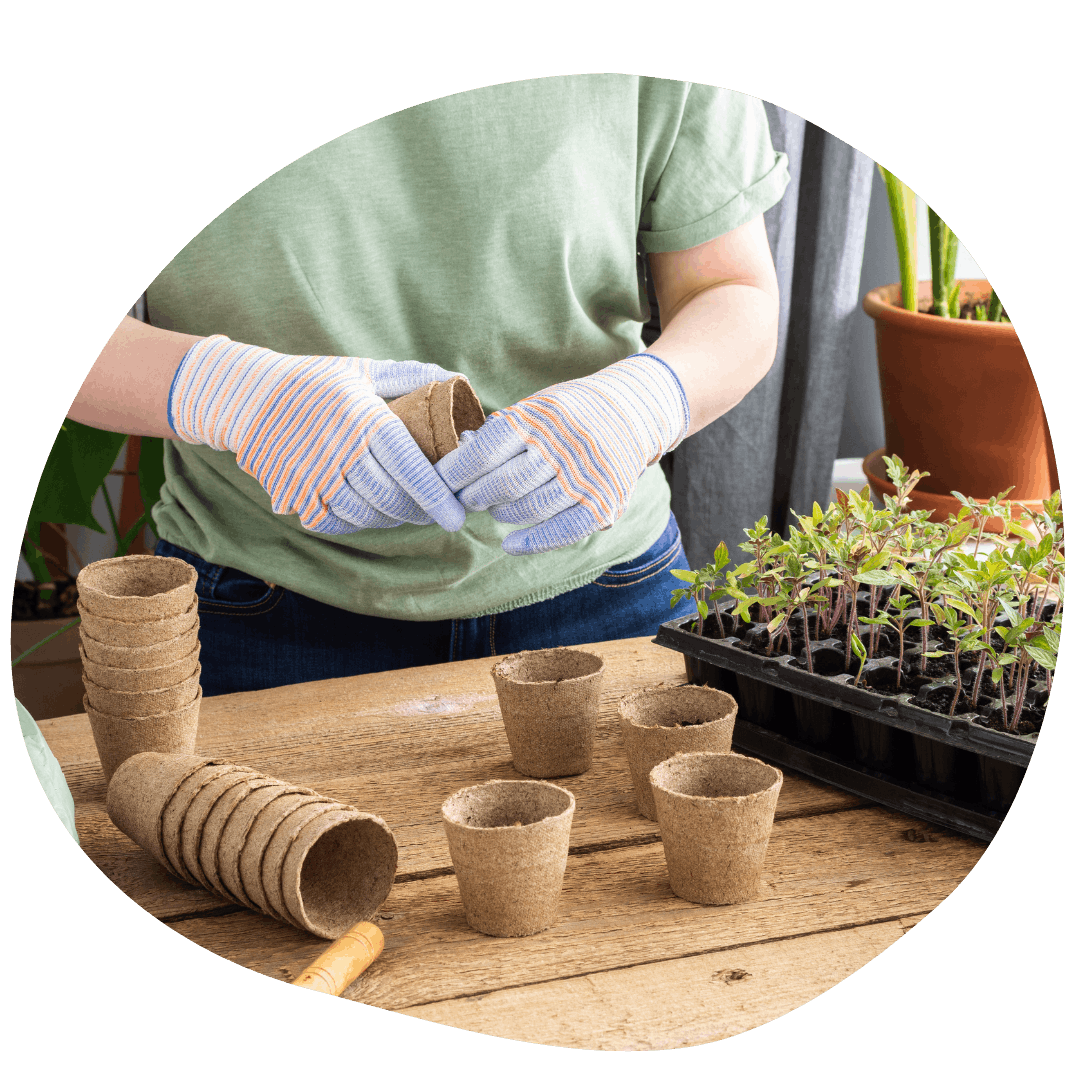
Always be patient and gentle when transplanting. Gently push from the bottom of the cell to pop out the seedling. You can gently pull apart its roots before you place the seedling into the new pot. Lightly press the soil around it and water well. Move to a location with indirect sunlight for a day or two. Some plants are susceptible to transplant shock, so monitor them closely in the days after transplanting. Allow for one week of recovery prior to resuming fertilization.
After Transplanting
Give your seedlings a week to recover after transplant and keep an eye out for signs of shock, such as wilting or yellowing leaves. Plants like basil, marigolds, and others can benefit from being pinched as seedlings to encourage bushier growth.

Hardening off is the gradual process of slowly exposing plants grown indoors to outside conditions. As a general guideline, plants will be okay outside when the temperature is warm enough that you're comfortable in a t-shirt. Start on a mild day and place your trays outside for about an hour, then bring them back in for the rest of the day. Increase the amount of time they spend outside each day until they're ready to move outside permanently. For the first week, keep seedlings out of direct sunlight and strong wind and don't move them outside if the weather is harsh. Don't be alarmed if your seedlings look a bit sad after their first few days outside! It's a big change after the controlled climate they've been accustomed to indoors, and it will take some time and patience to help them get used to their new environment.
Temperature
Cold weather crops (eg. onions, cabbages, broccoli, lettuce, peas) can be planted outside much earlier than others. Heat-loving plants (eg. squash, tomatoes, peppers, eggplant and basil) should only be transplanted after the last frost. Generally, most annuals can be planted outside by the end of May (depending on the weather). Always consult the seed packages for each variety, and be aware of your hardiness zone and upcoming weather forecast. If a surprise frost hits after you've transplanted, cover your beds with row cover (or sheets!) or a cloche. The first full moon in June is used as a marker for planting. Gardeners often believe that the risk of frost has passed after the first full moon in June.

Before transplanting out, amend your soil with some fresh topsoil and compost. It can be helpful to test your soil first to determine whether the pH and nutrient levels are appropriate for planting. Plan your garden according to the height and mature size of your plants. Be mindful of the location of trees near your garden beds, as they may block sunlight later in the season when fully leafed out.
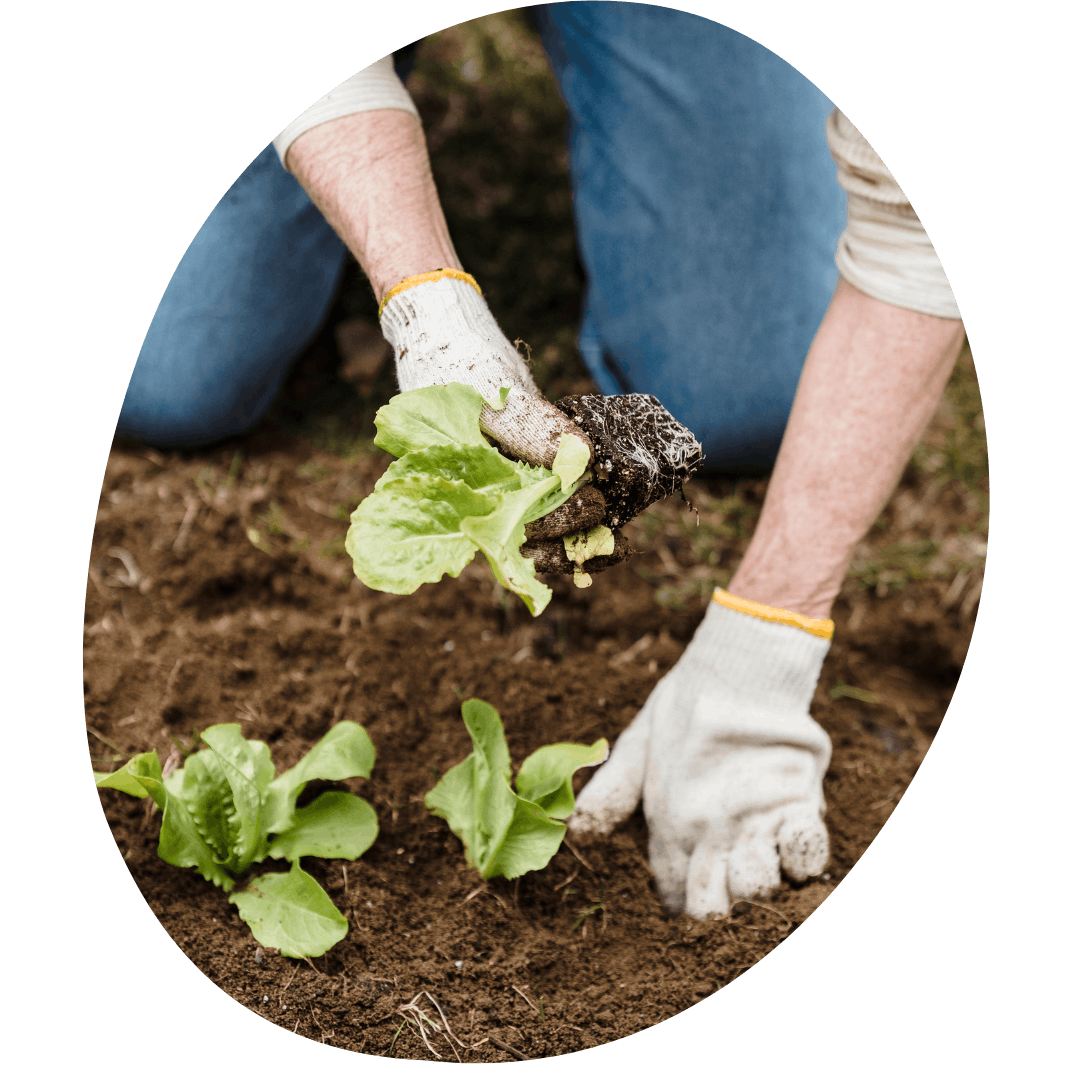
When you're ready to plant, prepare the holes for your transplants that are wider and deeper than the pot the plant is currently in. Add bone meal and compost to the hole to promote root growth and early nutrient uptake. If using plastic pots, gently remove the plant from the pot by carefully holding the leaves and squishing the pot slightly with the other hand to loosen the soil. Peat pots can be planted directly into the garden. It can take several seasons for peat pots to decompose, but tearing off excess fibre at the top and bottom of the pot can help speed up the process. Place your plant in the hole and fill in with surrounding soil while keeping the plant upright. Water well. Monitor the weather for the next week including overnight temperatures, and cover your beds when necessary.
Continuing Garden Care
Once plants are fully established in the ground, be sure to keep up on regular watering and fertilizing. Heavy feeders like tomatoes and peppers will appreciate frequent fertilization to continue producing fruit. Monitor regularly for damage from pests and disease and
treat when necessary. Many pests and diseases can be treated with organic methods, but pesticides are available for most common garden insects. Weed on a regular basis to ensure all nutrients in the soil are going to the growth of your garden plants, and to reduce areas that may harbour pests and disease.
